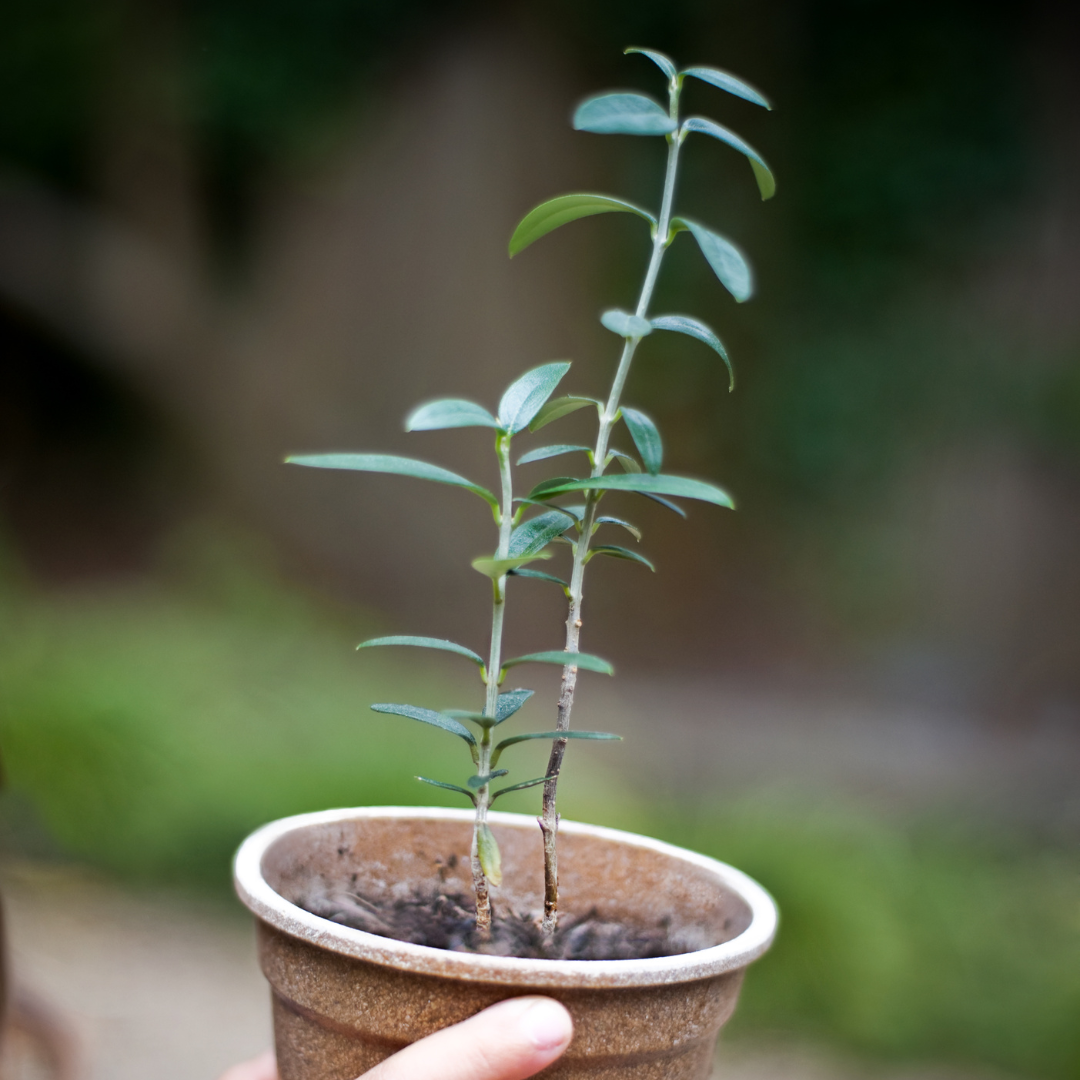
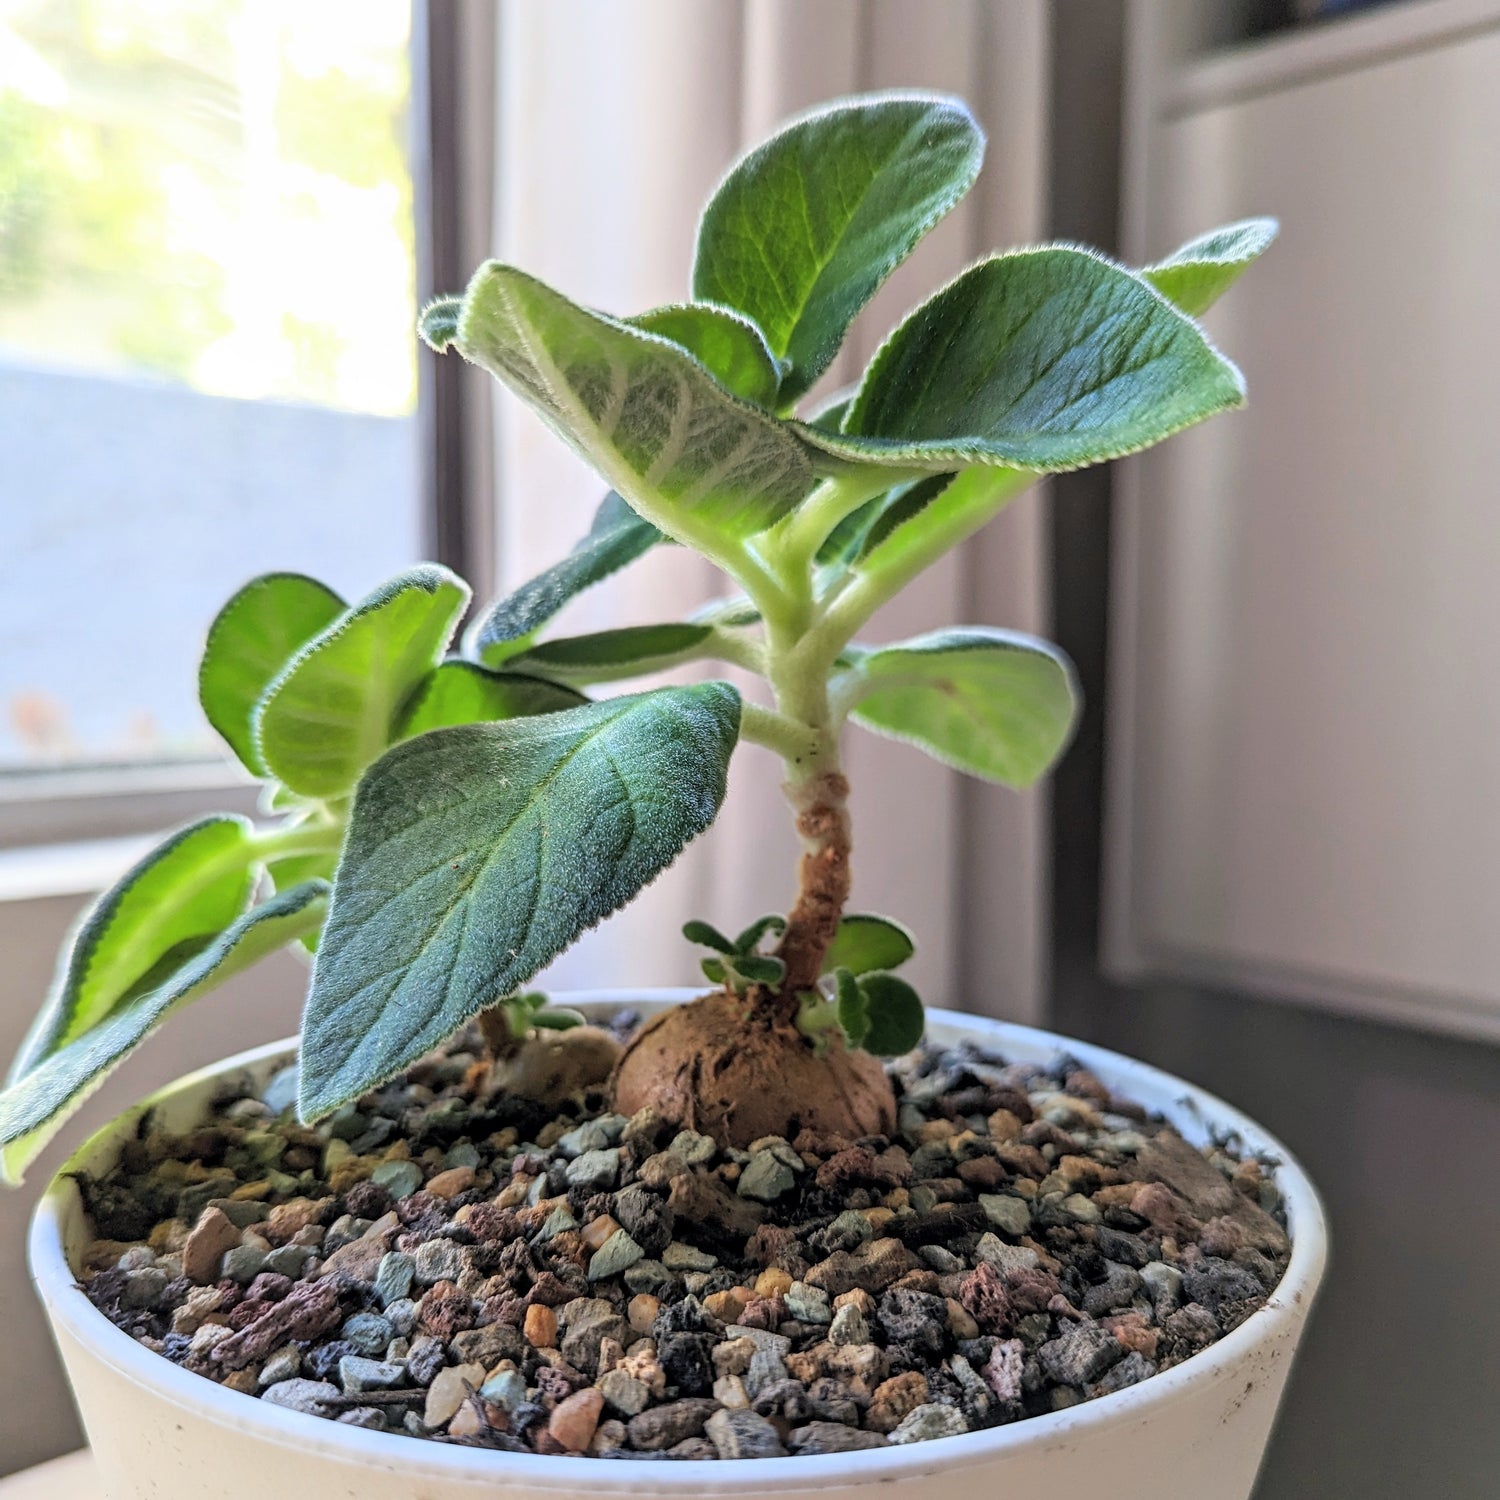
Ok, so you’ve probably gone through my 3 blogs on growing houseplants from seed, and now your noticing little specks of green poking out of the soil! At last! Maybe you’ve waited a week, or maybe you’ve waited 2 months, either way, you’re officially a plant parent and now you have to just make sure the seedlings survive and make it to plant adulthood!
Here are the basics you need to know to care for the plant babies so they can grow up and harden up, and then take that next step to taking over your home with all that new growth(it’s what we all want, isn’t it?) ;)
So whereas with seed germination we clarified, the seeds needed humidity, warmth and light, seedlings need:
-
Light
-
Air
-
Water
-
(fertilizer can help)
Really, it’s the same as what adult plants need, the general idea is to transition the seedlings gently from the conditions they were in while germinating, to the conditions adult plants thrive in. So here are 5 main things to do to help your seedlings go through that awkward teenage-stage successfully!
1) Start acclimating them to fresh air

Presumably you’ve had your babies under humidity domes, whether they’re ziploc bags, glass domes, or plastic mini greenhouse domes. Once the seeds germinate, they don’t need as much humidity. In fact, they need fresh air to properly start producing their own energy since carbon dioxide is a necessary component of the Calvin Cycle, which is how plants can produce the sugars they need to survive.
Simply put, these babies need to breathe. However, you can shock the seedlings if you remove the warmth and humidity the domes provide right away. So once you start seeing seedlings poking out, start removing the dome for an hour at a time and gradually start increasing the periods of time the babies spend in fresh air uncovered.
2) Reduce watering and overall moisture

Philodendron Selloum Seedlings, these have a few adult leaves coming in and are at the size where they can tolerate having slightly drier soil
While you’re waiting on the seeds to germinate, it’s essential that the soil is kept moist for them so the germination process can trigger properly- that’s one of the reasons why it’s so important to provide that humidity dome for them. However, you houseplant keepers know that for most of these plants, you generally want to let the plants dry out between waterings(so water about once a week). You gradually need to transition these seedlings to that point, so when the humidity dome is off, you can start gradually letting the soil dry out more and more until you can wait a week between the waterings. Naturally, watch the seedlings for signs of under or overwatering.
3) Increase light
Some houseplant seeds need a lot of light to germinate, however the vast majority are able to germinate perfectly in the dark. Most of the energy the seed needs is right there in the seed, so seedlings are able to live off of the stored energy from the seed for a little bit. In fact, for most seeds, you want to keep them in a lower lit situation until they germinate and from there you can start increasing the lighting.
If you’re using grow lights, you can increase the brightness and increase the time for which they’re on, and if they’re by a windowsill, you can push them a little closer to the light. You’ll want to check to see if the variety you’re growing can be exposed to full sun(venus fly traps, herbs, veggies, some indoor blooms, etc can), but in most cases you’ll still want to keep the seedlings in bright but indirect light(or a grow light).
4) Start lightly fertilizing

Once the seedlings develop their adult leaves, you can usually start lightly fertilizing them with diluted water soluble fertilizer every 2-4 weeks or so to start. Sometimes that can give the seeds the boost they need to really take off with their growth.
Carnivorous plants are a big exception to this, as they don’t tolerate having minerals or nutrients in the soil, but some like the Nepenthes can be lightly fertilized with specific fertilizers(check the seed pages for more info on that).
5) Repot
Eventually you’ll need to repot the seeds as they’ll likely reach a point of being too root bound. Or, sometimes you may accidentally plant some seeds too closely together. So, when can you repot them? You usually want to wait for that second set of adult leaves to start coming in.

Let me explain, some seeds are monocots and most are dicots, that basically means either the seedling will either sprout one leaf or two leaves, respectively. Monstera Deliciosa seeds are monocots, so when they sprout you’ll see one lil leaf emerge that looks basically like a small Monstera leaf. With the dicots(the majority of the seeds you’ll run into), they develop two leaves. A lot of the time that first set of leaves are the baby leaves that look nothing like what the adult leaves look like. After that set, the seedling gathers energy to produce their first set of adult leaves which do start to resemble the leaves you see on the adult plants.
So, once you see the first set of adult leaves and the second ones are coming in or are in, is a good time period for you to repot the seedlings if you need to.
That sums up seedling care basics! Hopefully this helps out and gives you the knowledge you need to take those little green sprouts and turn them into gorgeous and lush houseplants!
Want to give growing houseplants from seed a try? Start with The Houseplant Newbie Collection: this collection has 4 easy-to-grow houseplant seeds to start you off with the hobby :)
If you found this post helpful, here are some others you may like!


